Amy Vikram's Fluid Acrylic Art: A Complete Guide to Creating Vibrant, Dynamic Compositions
Channeling creativity that flows like paint — an in-depth tutorial inspired by Tampa-based artist Amy Vikram's untethered spirit of uninhibited expression.
Who Is Amy Vikram?
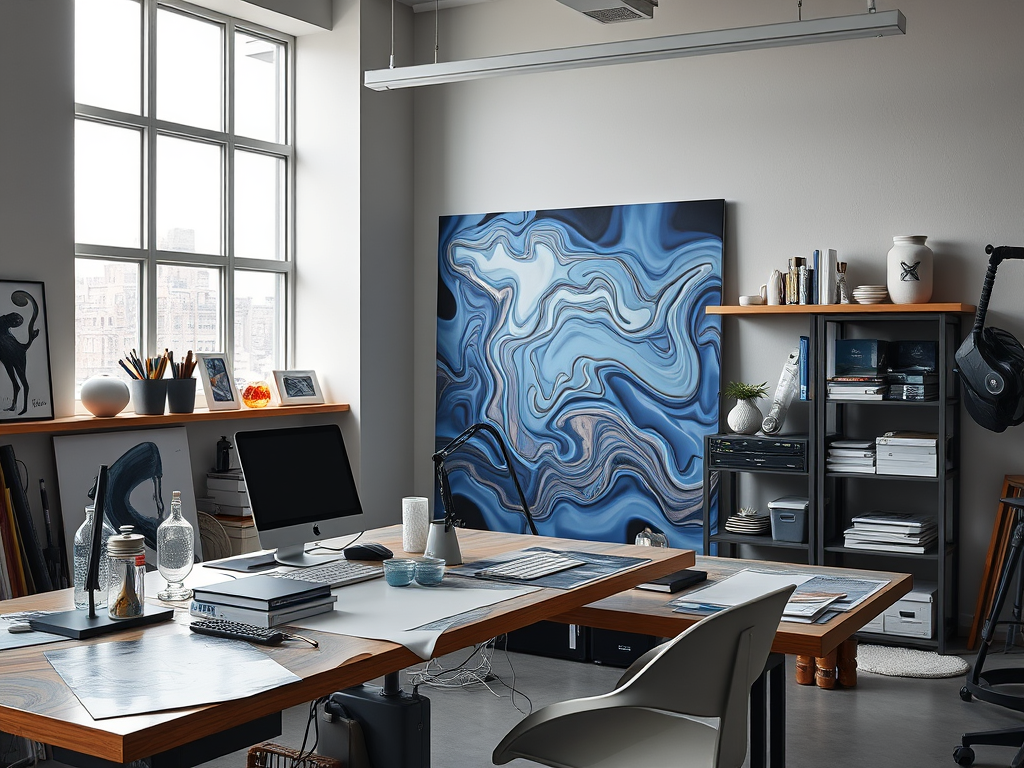
Amy Vikram is a Tampa-based artist who has carved a distinctive niche in the world of contemporary art through her mastery of fluid acrylic painting. Her work channels raw passion into vibrant, dynamic compositions that pulse with energy and movement. Rather than imposing rigid control over her medium, Amy embraces a philosophy that creativity must flow like paint on canvas — allowing the materials themselves to become collaborators in the creative process.
Each of her pieces invites viewers to experience the boundless energy and liberation inherent in fluid acrylics. Her untethered approach produces works that are at once deeply intentional and beautifully spontaneous, proving that uninhibited expression can yield some of the most captivating art on the canvas today. Amy's work has been celebrated for its ability to capture motion, emotion, and the raw power of color in ways that resonate with collectors and enthusiasts worldwide.

What Is Fluid Acrylic Art?
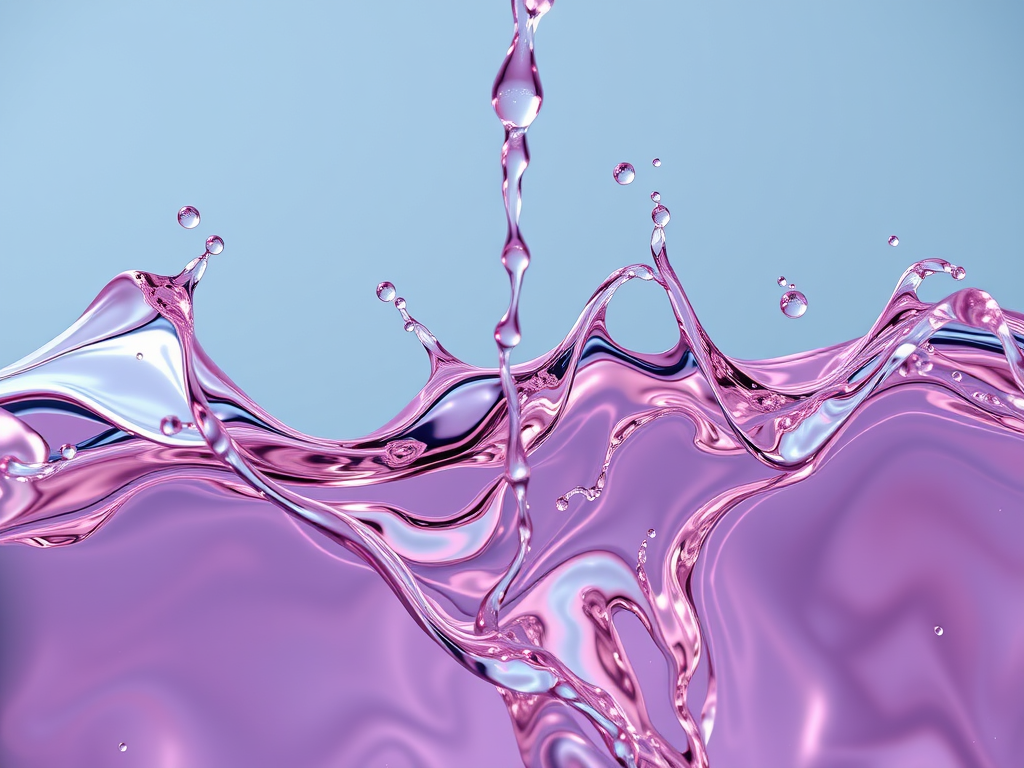
Fluid acrylic art is a contemporary painting technique that transforms standard acrylic paint into a pourable, liquid medium. By mixing acrylic paints with flowing agents — such as silicone oil, flow improvers, and water — artists create a consistency similar to heavy cream or honey. This allows the paint to move freely across the canvas, producing organic patterns, cells, lacing effects, and mesmerizing color interactions that would be impossible to achieve with traditional brushwork alone.
Why Choose Fluid Acrylics?
Fluid acrylic painting has exploded in popularity over the past decade for several compelling reasons:
- Accessibility: You don't need advanced drawing or brushwork skills to create stunning art. The medium does much of the work for you.
- Vibrant Color: Acrylic pigments remain intensely saturated even when diluted, producing brilliant, luminous results.
- Unpredictable Beauty: Each pour is unique. You set up the conditions, but the final result emerges organically — a collaboration between artist and medium.
- Speed: A fluid acrylic piece can be completed in minutes to hours, rather than the days or weeks required for traditional layering techniques.
- Cost-Effective: Basic supplies are inexpensive, and you can use affordable craft-store acrylics to achieve professional-quality results.
The Science Behind the Flow
Understanding the science behind fluid acrylics empowers artists to intentionally create the effects they desire. The key phenomenon at work is density and viscosity differentials. When paints of varying densities are poured together, lighter (less dense) paints rise while heavier (more dense) paints sink — creating the characteristic "cells" that define fluid art.
Silicone oil is the primary agent responsible for cell formation. When added to a paint mixture, silicone causes phase separation: the silicone repels the acrylic binder, pushing pigment outward and creating circular cells with lacy edges. The amount of silicone directly controls the size and number of cells produced.
Flow improvers (such as Floetrol or commercial equivalents) modify the paint's viscosity without altering its color intensity. They enable smooth, even pouring and help prevent cracking as the paint dries by maintaining flexibility in the dried film.
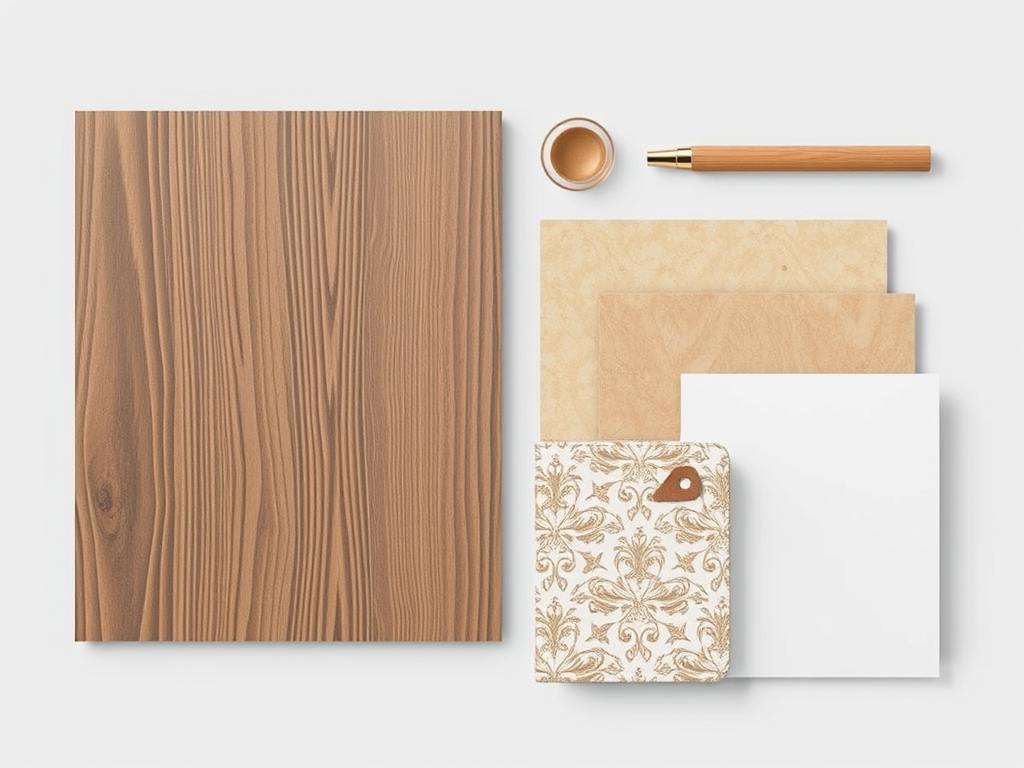
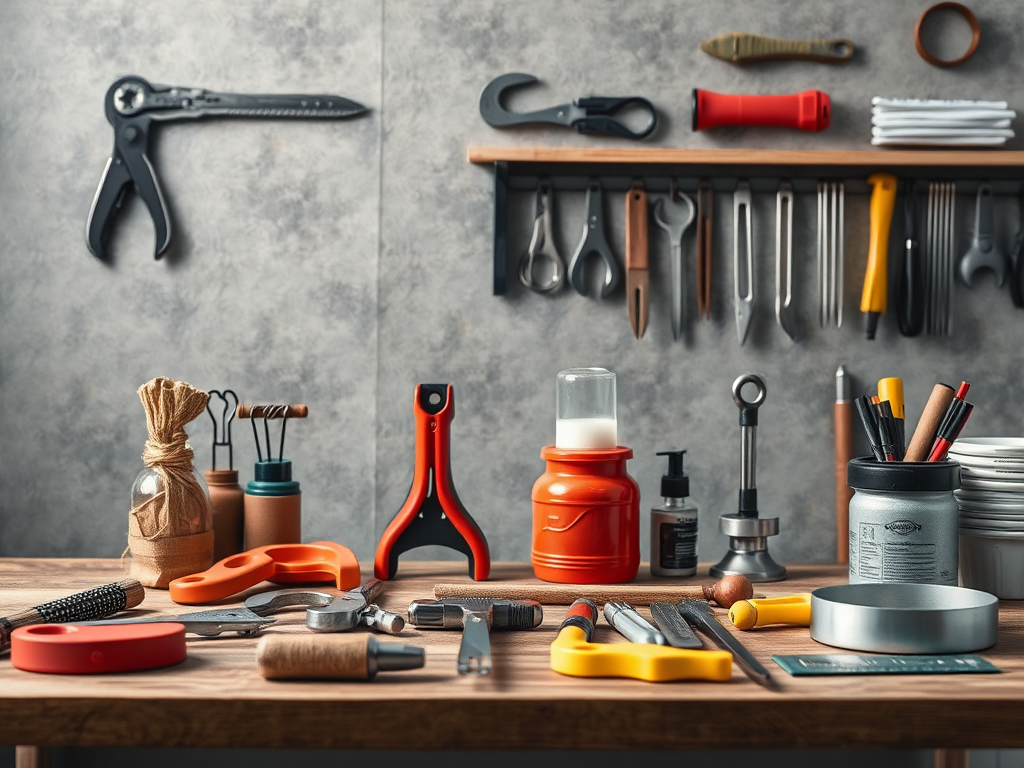
Essential Materials for Fluid Acrylic Art
Before diving into the step-by-step tutorial, let's gather everything you need. Amy Vikram recommends starting with these core materials:
Paints
You can use any acrylic paint that has a fluid or soft-body consistency. Here are recommendations at different price points:
| Category | Recommended Brands | Why It Works |
|---|---|---|
| Budget-Friendly | Liquitex Basics, Apple Barrel, FolkArt | Affordable and surprisingly fluid; great for beginners learning ratios |
| Mid-Range | Liquitex Soft Body, Daler-Rowney System 3 | Excellent pigment load with naturally fluid consistency |
| Professional | Liquitex Professional, Golden Fluid Acrylics, Schmincke | Maximum color intensity and lightfastness for gallery-quality work |
Pouring Mediums & Additives
- Pouring Medium: Floetrol (oil-based paint thinner — widely accessible and affordable), Golden Fluid Release, or Liquitex Pouring Medium. These thin the paint while maintaining integrity.
- Silicone Oil: 100% pure silicone oil in varying viscosities (20cs, 50cs, 60cs). Start with 60cs for larger cells or 20cs for delicate lacing. A few drops per color is all you need.
- Flow Improver: If your pouring medium doesn't include flow properties, add a dedicated flow aid to prevent surface tension issues.
- Water: Use sparingly — more than 30% water can break down the acrylic binder and cause poor adhesion or cracking.
Supports & Tools
- Canvas: Stretched canvases (8×10, 16×20, and 24×36 are popular sizes) or canvas boards. Pre-primed surfaces work best.
- Pouring Cups: Small plastic cups (4oz or 8oz disposable cups). Have plenty on hand — you'll use one per color.
- Palette Knife or Stir Sticks: Wooden craft sticks or silicone spatulas for mixing.
- Work Surface Protection: Silicone baking mats, trash bags, or a dedicated plastic table cover. Fluid acrylics are messy, and protection is essential.
- Tilting Tools: A flat surface that can be tilted (a tray with books underneath, or a dedicated pouring station).
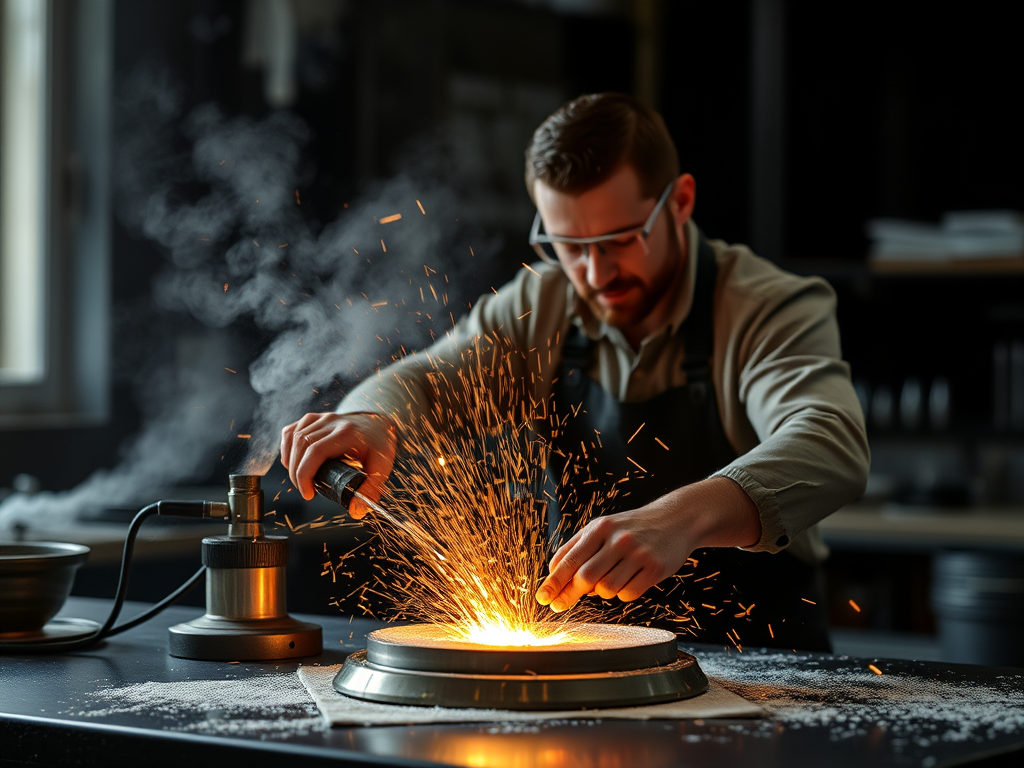
- Blow Torch or Heat Gun: Used to pop air bubbles and enhance cell formation. A butane kitchen torch is ideal.
- Masking Tape: To protect edges of your canvas during the pour.
Step-by-Step Guide: Creating Your First Fluid Acrylic Pour
Following Amy Vikram's philosophy that creativity must flow naturally, this tutorial walks you through a classic dirty pour — the most popular and beginner-friendly technique. This method layers multiple colors in a single cup before pouring onto the canvas, creating stunning marbled effects with minimal effort.
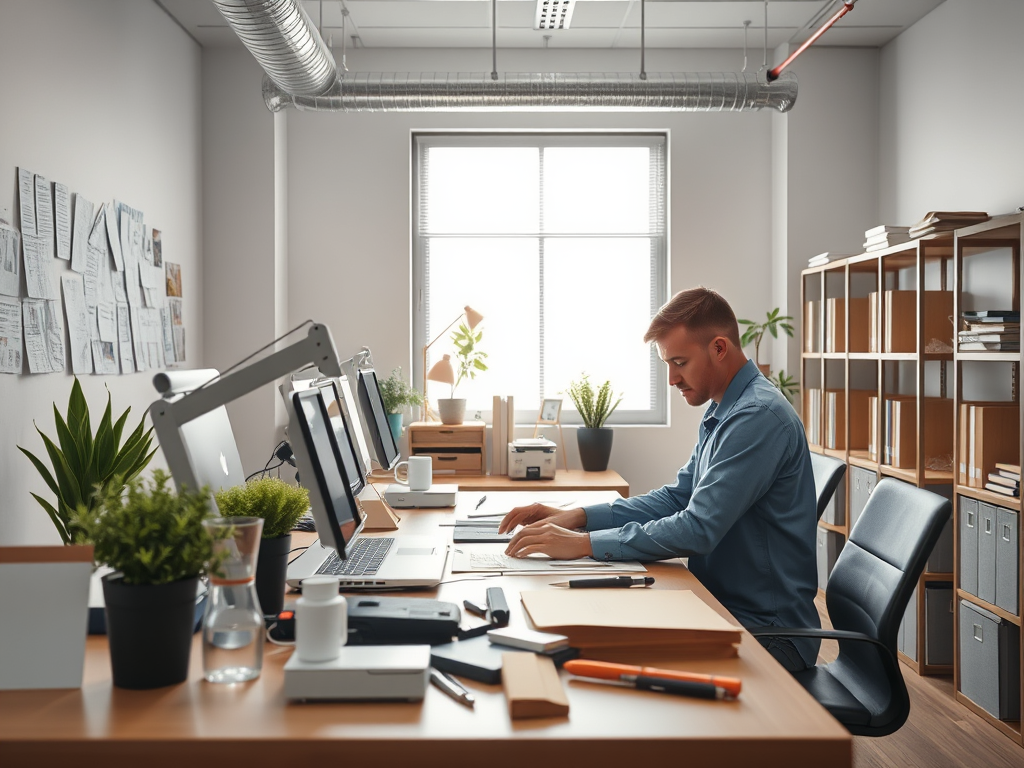
Step 1: Prepare Your Workspace
Set up your pouring area the night before if possible. Lay down silicone mats or heavy-duty plastic sheeting on a flat, level surface. Place your canvas (with edges taped off) in the center. Arrange all your materials within arm's reach. Amy Vikram emphasizes that a well-organized workspace reduces stress and allows creativity to flow freely.
Ensure your surface is perfectly level — even a slight tilt can cause paint to run off before you're ready. Use a spirit level or phone app to check.
Step 2: Mix Your Paint Colors
Select a color palette of 4–7 colors. Amy Vikram often uses vibrant combinations — think electric blues against warm coral, deep purples paired with luminous golds, or contrasting complementary pairs like teal and orange.
For each color, create your paint mixture using this reliable ratio:
The Golden Ratio for Fluid Acrylics
- 1 part acrylic paint
- 1 part pouring medium (Floetrol or equivalent)
- ½ part water
- 3–5 drops silicone oil per color
Mix each color thoroughly until it reaches a consistency similar to warm honey or heavy cream. The paint should flow smoothly off a stir stick in a continuous ribbon. If it's too thick, add a few drops of water. If too thin, add more pouring medium.

Test each mixture by lifting the stir stick — the paint should drizzle off in a steady stream that holds its shape briefly before flattening.
Step 3: Layer the Colors (The Dirty Pour)
Take a clean pouring cup and begin layering your mixed colors one on top of another. The order matters — start with lighter colors at the bottom and progress to darker colors on top, or experiment with alternating light and dark for more dramatic contrast.
Amy Vikram's tip: Pour each color in a thin, even layer about ¼ inch thick. Don't overfill — leave space at the top for the final pour.
Step 4: The Flip Cup (Pour Onto Canvas)
This is the moment of truth. Hold your layered cup directly over the center of your canvas. In one confident motion, flip the cup upside down onto the canvas and press gently to create a seal. Wait 15–30 seconds — you'll see the paint begin to pool out from under the edges.
The flip pour requires confidence. Hesitation can cause dripping on the back of the canvas or uneven coverage. Trust your mixture ratios and commit to the flip.
Step 5: Tilt the Canvas
Lift one edge of the canvas slowly, allowing the pooled paint to flow across the surface. Tilt in all four directions — left, right, forward, and backward — until you achieve full coverage and a design that resonates with you.
Watch for:
- Cells forming: If cells aren't appearing, tilt the canvas more aggressively or gently blow across the surface with a straw to encourage them.
- White backing showing: This is normal at first. Continue tilting until coverage is even.
- Color separation: The different densities will naturally create beautiful marbled patterns as they interact.
Amy Vikram often tilts her canvas over a 45-degree angle, allowing gravity to become her co-artist. Each tilt direction changes the composition entirely.
Step 6: Pop Air Bubbles
Once you're satisfied with the coverage and pattern, use a blow torch or heat gun to gently pass the flame across the surface. This pops trapped air bubbles that could mar the final piece. Keep the flame moving — don't hold it in one spot for more than a second.
The torch also helps enhance cells by reducing surface tension. You'll see cells bloom and expand as the flame passes over them.
Step 7: Clean Edges & Dry
After tilting, you'll likely have paint running off the edges onto the back of the canvas. Use a paper towel or rag to wipe the sides clean. Remove any masking tape. Place the piece on a drying rack or prop it against a wall in a dust-free area.
Drying time varies by thickness and environment, but typically:
- Surface dry: 1–2 hours
- Touch-dry: 24 hours
- Fully cured: 7–14 days (important before applying any varnish)
Never rush the drying process. Place your artwork in a well-ventilated area away from direct sunlight, which can cause uneven drying and cracking.
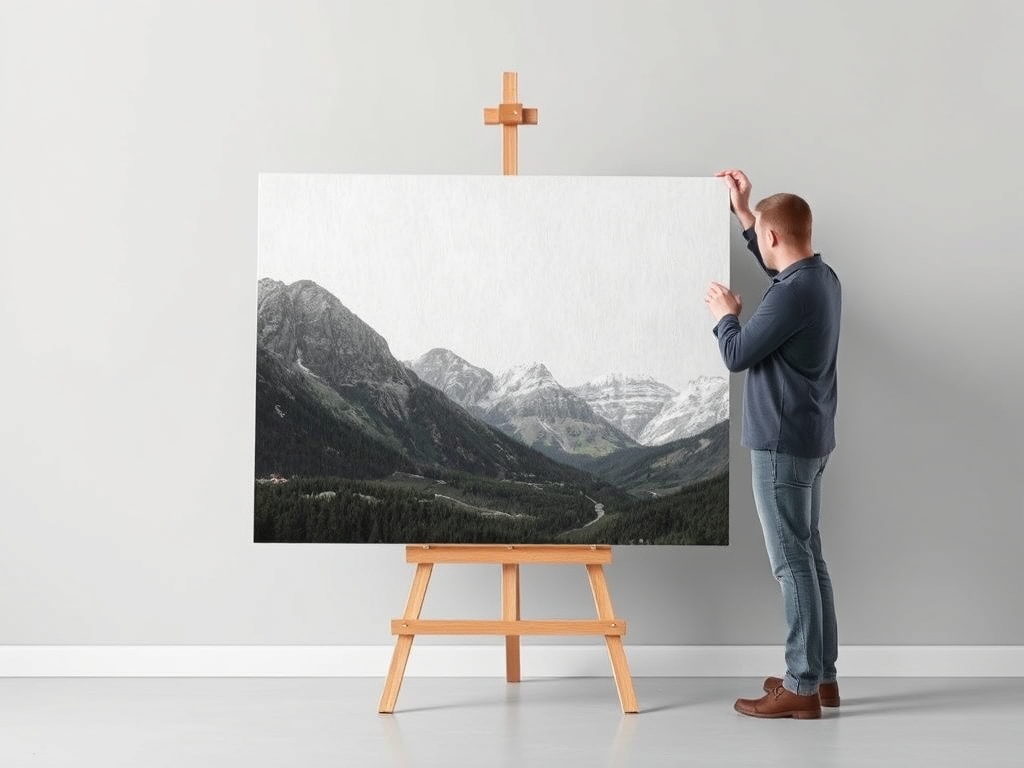
Step 8: The Reveal
Once completely dry, flip your canvas over. Remove any tape from the back edges. The underside of a fluid acrylic pour is often just as beautiful as the top — many artists frame pieces with open backs to showcase this unexpected beauty.
Amy Vikram often applies a gloss varnish once the piece is fully cured to enhance color depth and protect the surface from UV damage and dust.
Advanced Techniques Inspired by Amy Vikram
Once you've mastered the dirty pour, Amy Vikram encourages artists to explore these advanced techniques that push the boundaries of fluid acrylic expression:
The Free Pour
Instead of a single cup, the free pour involves pouring individual colors directly from separate cups onto the canvas in a scattered pattern. Then tilt as desired. This technique offers maximum control over where each color lands and produces more defined color separation.
The Swipe Technique
After performing a flip pour, use a credit card, silicone spatula, or acrylic blade to drag through the paint in a single sweeping motion. This creates dramatic veils and striations that reveal underlying color layers.
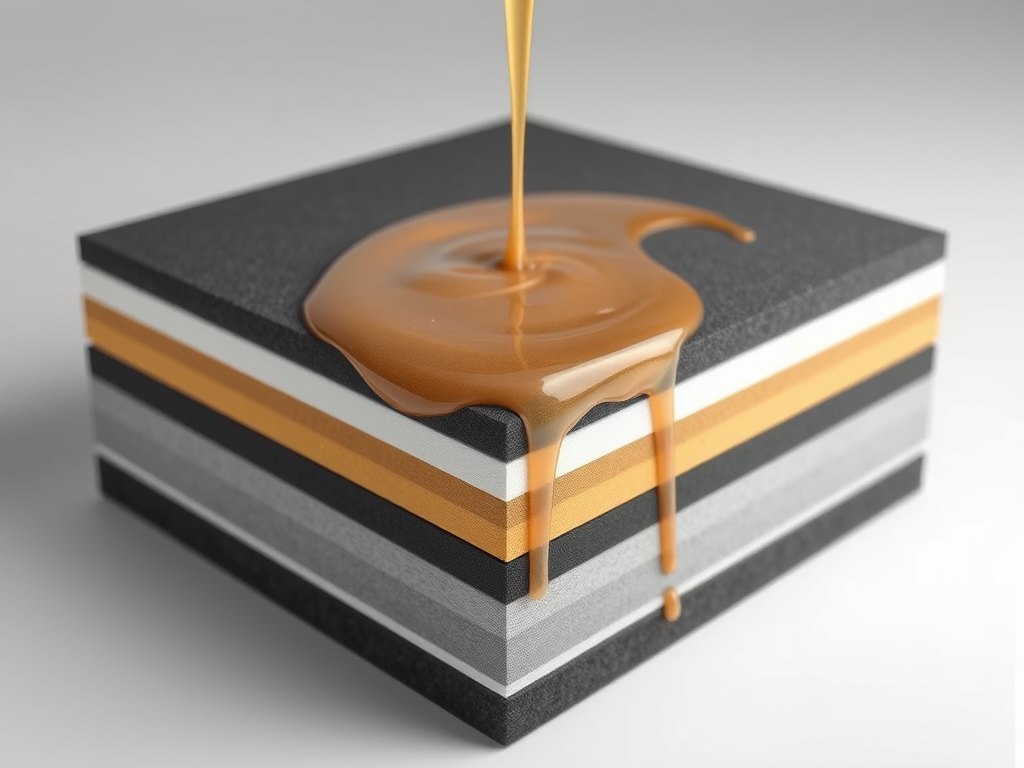
The Layered Pour (Memory Foam)
Pour one complete layer of paint onto the canvas and let it sit for 5–10 minutes until tacky. Then pour a second, different color combination on top. The underlying layer peeks through, creating depth reminiscent of geological strata or memory foam impressions.
Directional Pouring with Straw or Torch
After your initial pour and tilt, use a straw to blow air across specific areas, directing paint flow and creating wispy, ethereal tendrils. Alternatively, use the torch strategically — holding it at an angle can elongate cells in one direction, creating dynamic movement.
Resist Techniques
Amy Vikram occasionally incorporates resist materials such as masking fluid, washi tape patterns, or even household items like straws and leaves placed on the wet paint. When removed, these create negative-space designs that contrast beautifully with the flowing paint around them.
Color Theory for Fluid Acrylic Artists
While the fluid medium handles much of the complexity, understanding color relationships elevates your work from accidental beauty to intentional artistry. Amy Vikram's palettes are renowned for their emotional impact — here's how she approaches color:

Complementary Color Schemes
Pairs of colors opposite each other on the color wheel (blue/orange, red/green, purple/yellow) create maximum contrast and visual energy. In fluid acrylics, complementary colors tend to separate dramatically, producing crisp cell edges and striking visual tension.
Analogous Color Schemes
Colors that sit next to each other on the color wheel (blue/blue-green/green) create harmonious, soothing compositions. These palettes produce subtle gradations and gentle transitions — perfect for ethereal, dreamlike pieces.
Triadic Color Schemes
Three colors evenly spaced around the color wheel (red, yellow, blue or orange, green, purple) offer balanced vibrancy. This approach works particularly well in dirty pours where multiple layers interact.
The Power of Neutrals
Amy Vikram frequently incorporates white, black, silver, and gold into her compositions. White creates luminosity and space; black adds depth and drama; metallics introduce light-reflective qualities that change with the viewer's perspective.
Troubleshooting Common Fluid Acrylic Issues
Even experienced artists encounter problems. Here's Amy Vikram's guide to diagnosing and fixing the most common issues:
No Cells Forming
Causes: Not enough silicone oil, paint too thick, or silicone incompatible with your medium.
Solutions: Add 2–3 more drops of silicone per color. Try a different brand of silicone oil. Ensure your pouring medium is compatible (Floetrol works well with most silicones).
Muddy Brown Colors
Causes: Too many colors mixed together, or incompatible pigment combinations.
Solutions: Limit your palette to 4–5 colors. Avoid mixing warm and cool versions of the same hue. Test small amounts before committing to a full pour.
Paint Too Thin — Runs Off Canvas
Causes: Too much water or pouring medium.
Solutions: Adjust your ratio. Add more paint and pouring medium without water. Aim for honey consistency.
Paint Too Thick — Won't Flow
Causes: Insufficient liquid additive.
Solutions: Add water in small increments (1/8 teaspoon at a time) until the desired consistency is reached. Remember: you can always add more, but you can't take it away.
Cracking After Drying
Causes: Too much water breaking down the acrylic binder, or insufficient drying time.
Solutions: Keep water to no more than 30% of your total mixture. Ensure proper ventilation and allow full curing time (7–14 days) before handling.
Air Bubbles on Surface
Causes: Over-mixing, pouring too quickly, or humid environment.
Solutions: Mix gently to minimize air incorporation. Use a torch immediately after tilting. Work in a low-humidity environment when possible.

Finishing & Displaying Your Work
The journey doesn't end when your piece is dry. Proper finishing transforms a good fluid acrylic pour into a professional-quality artwork.
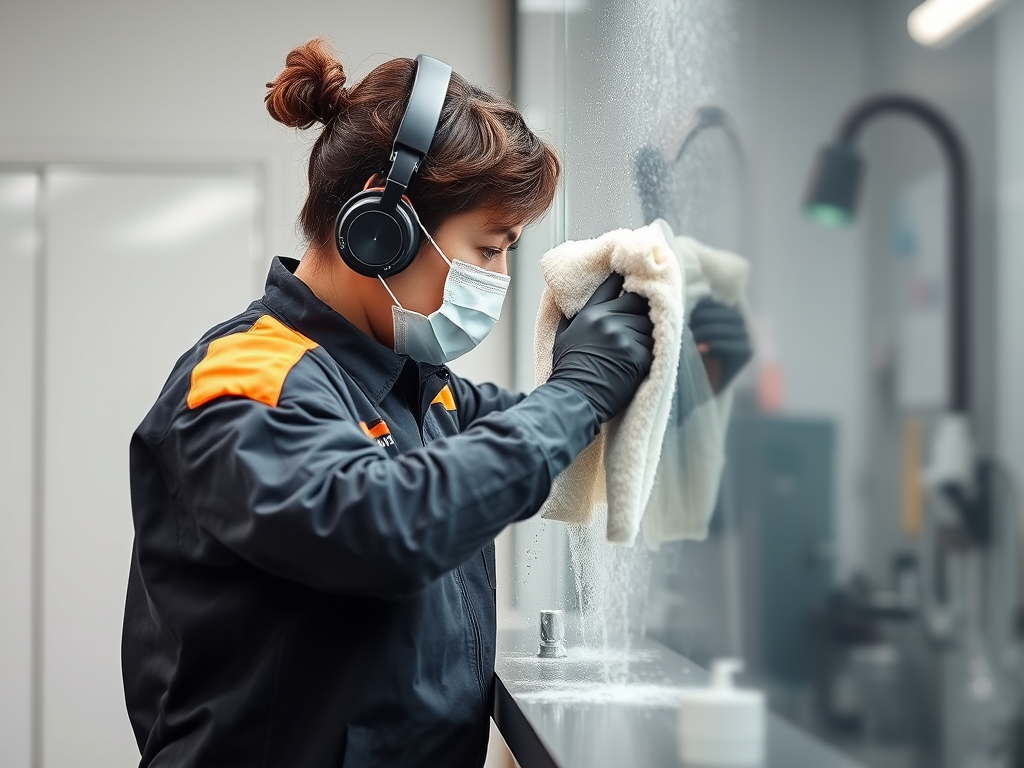
Varnishing
After the piece has fully cured (minimum 7 days, ideally 14), apply a gloss varnish to protect the surface and enhance color saturation. Amy Vikram recommends:
- Gloss Varnish: Creates a wet-look finish that intensifies colors and adds depth. Apply with a wide, soft brush in thin, even strokes.
- Satin Varnish: Offers a subtle sheen that reduces glare while still protecting the surface.
- Matte Varnish: Creates a flat, non-reflective finish — less common for fluid art but useful for specific aesthetic goals.
Apply 2–3 thin coats, allowing each to dry completely before applying the next. Always work in a dust-free environment.
Displaying Your Art
Fluid acrylic paintings are versatile and can be displayed in numerous ways:
- Framed with Glass/Acrylic: Traditional framing protects the surface and adds a polished presentation.
- Float Frame: Shows off the painted edges for a modern, gallery-style appearance.
- Open-Back Display: Many fluid artists leave the back exposed since the underside often features equally captivating patterns.
- Canvas Boards: For smaller pieces, canvas boards are lightweight and easy to display without framing.
Amy Vikram's Creative Philosophy & Artist Insights
Beyond technique, what truly sets Amy Vikram's work apart is her approach to the creative process. Her philosophy offers valuable lessons for artists at every level:
"Creativity must flow like paint on canvas. When you try to control every detail, you suffocate the very energy that makes this medium alive. The trick isn't in controlling the outcome — it's in creating the right conditions and then having the courage to let go."
— Amy Vikram, Tampa-based fluid acrylic artist
Key Principles from Amy's Practice
- Embrace the Unexpected: The most beautiful moments in fluid art are accidents. A color combination you didn't plan, a cell pattern that emerges against your expectations — these are gifts from the medium.
- Trust Your Intuition: There is no single "right" way to tilt, pour, or manipulate. Your gut reaction in the moment of creation is more valuable than any rulebook.
- Work in Energy: Amy often creates multiple pieces in a single session, riding the creative momentum from one work to the next. Each piece energizes the next.
- Experiment Relentlessly: She maintains an ongoing experimental practice, testing new color combinations, pouring mediums, and techniques even after years of experience.
- Document Everything: Take photos of your process, note your ratios, and keep a journal. What works today might not work tomorrow — documentation is your most valuable tool for growth.
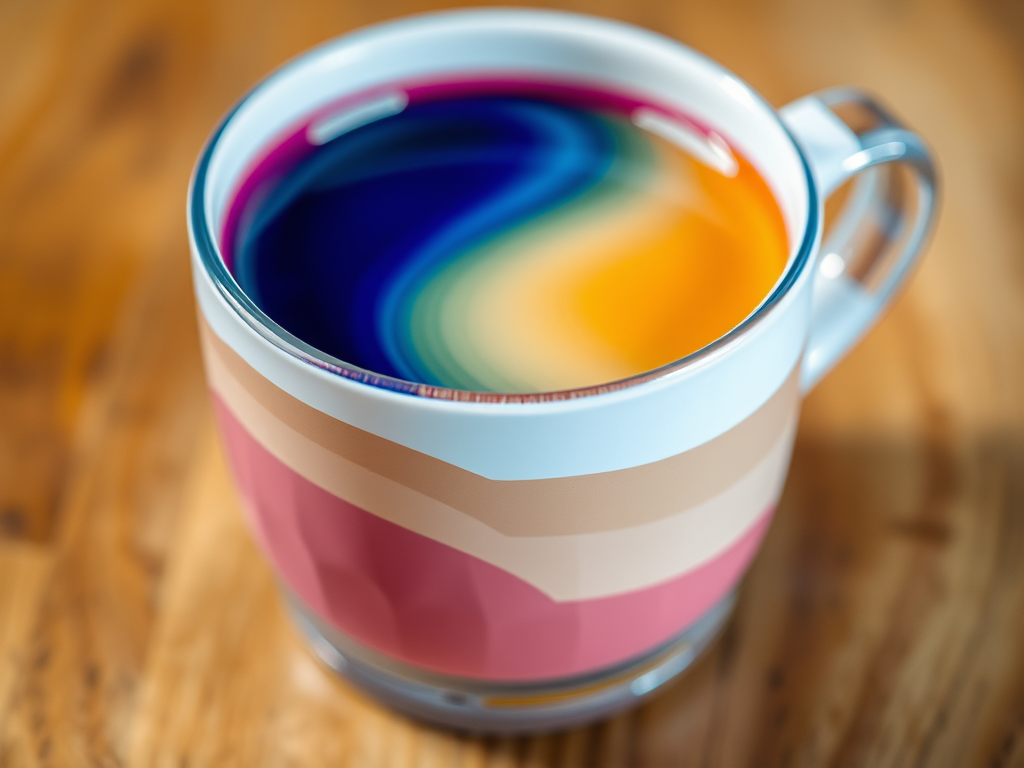
Example Compositions & What Makes Them Work
To illustrate the principles discussed throughout this tutorial, here are descriptions of example compositions inspired by Amy Vikram's style:
Your First Fluid Acrylic Session: A Quick-Start Checklist
New to fluid acrylic art? Here's a streamlined checklist to get you started today:
☐ Pre-Pour Preparation
- Set up workspace with protective covering
- Level your pouring surface
- Gather canvases, cups, stir sticks, and torch
- Select your color palette (start with 4–5 colors)
☐ Paint Mixing
- Mix each color: 1 part paint + 1 part medium + ½ part water + silicone drops
- Test consistency — should flow like warm honey
- Stir gently to minimize air bubbles
☐ The Pour
- Layer colors in cup (light at bottom, dark on top)
- Flip onto canvas center and press down
- Wait 15–30 seconds, then tilt to cover
- Torch surface to pop bubbles and enhance cells
☐ Clean-Up & Dry
- Wipe clean the back and sides of canvas
- Remove tape from edges
- Place in dust-free area to dry for 24+ hours
- Photograph your work before it dries (colors shift as they dry)
Conclusion: Let Your Creativity Flow
Fluid acrylic art is more than a technique — it's a philosophy of creative liberation. Amy Vikram's work embodies the belief that when we release our grip on control and allow the medium to guide us, something extraordinary emerges. The vibrant, dynamic compositions she creates are not merely paintings; they are visual expressions of energy, emotion, and the boundless possibilities that exist when artist and material collaborate as equals.